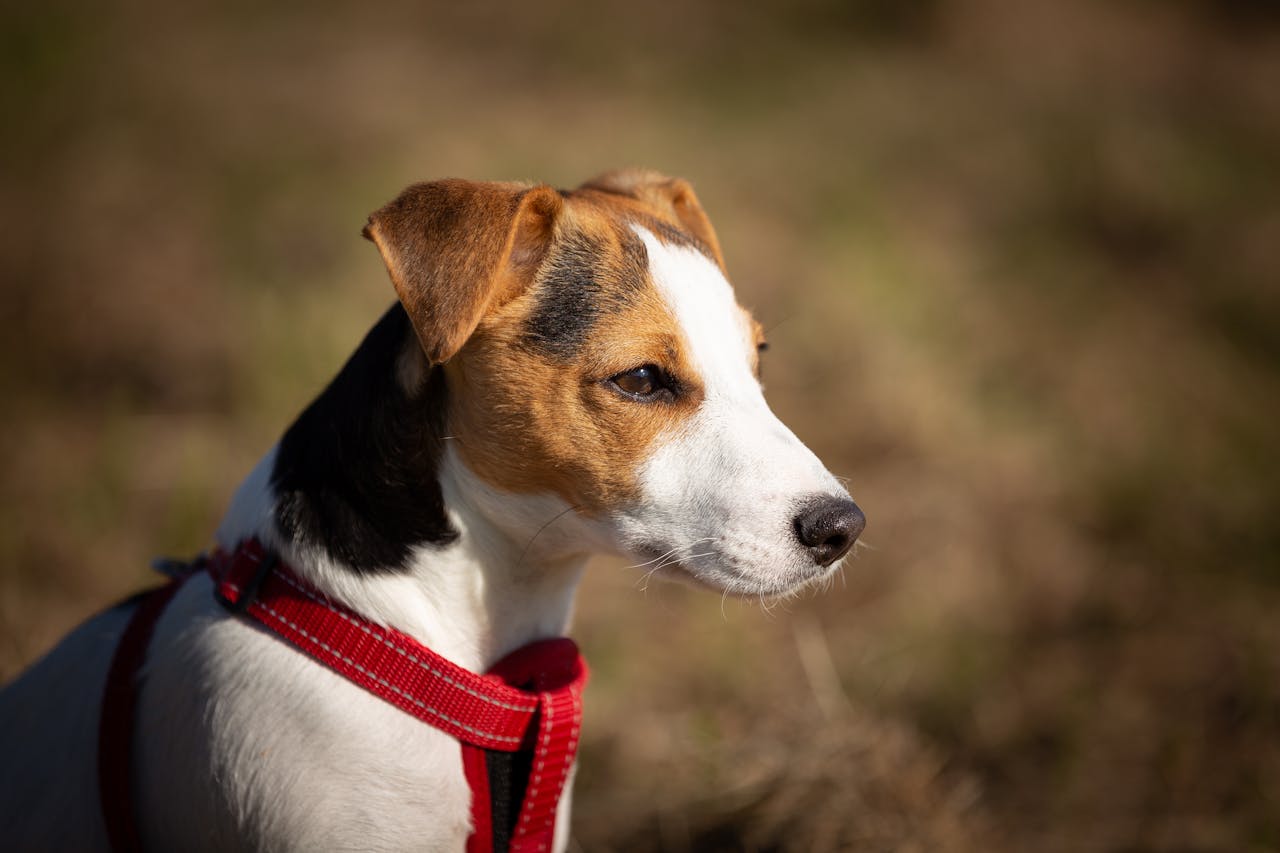
Walking a dog should be simple, right? Leash, harness, and off you go. But for a lot of owners, especially the first time, that harness feels like a puzzle of straps and clips. The truth is, once you’ve done it a few times, it takes seconds. The challenge is just getting comfortable with the steps. A dog harness isn’t complicated; it just looks that way at first glance.
This guide breaks it down in plain steps, the same way I’d explain it to someone holding a harness for the very first time.
Step 1: Stay Calm And Keep Your Dog Calm
Dogs are experts at reading energy. If you’re rushing or fumbling, they’ll notice and might resist. So, the first thing: pick a quiet spot in the house, somewhere without too many distractions. Sit down with the harness in your lap. That way, both you and your dog feel a little more relaxed before you start.
Step 2: Let The Dog Sniff Around
Don’t just shove the harness on. Hold it out, let them sniff, and maybe even touch it with their nose. Dogs figure things out through smell. This little pause tells your pup, “Hey, this is nothing scary.” Believe me, it saves time later; a dog that accepts the harness willingly is easier to handle than one wriggling away.
Step 3: Figure Out The Right Way To Hold It
Half the confusion comes from holding the harness upside down. Before your dog even steps near it, make sure you know which part goes where. With a step-in harness, place it flat on the ground. You’ll see two loops; those are for the front paws. With an over-the-head harness, just hold the bigger loop open so you can slide it over the head in one smooth motion.
The important thing is no twists. Flat straps sit better and won’t pinch.
Step 4: Slip the Harness On
Here’s the hands-on part.
- Step in? Guide one paw into each hole, then lift the harness gently toward the chest.
- Over-the-head? Slip it on slowly, watch the ears, and keep talking to your dog in a calm voice.
It might feel awkward the first couple of times, but don’t worry. Dogs learn routines quickly. After a week of doing this daily, your pup may even start walking over when you pick up the dog harness.
Step 5: Clip and Secure the Straps
Once it’s sitting in place, fasten the buckles. Don’t rush this part; snapping too fast can startle your dog.
Now, check the fit. Too loose and it can slip off; too tight and it’s uncomfortable. The “two-finger rule” is a simple trick: you should be able to slide two fingers between the strap and your dog’s body. If that feels right, then the dog harness is snug without squeezing.
Step 6: Adjust for Comfort
This is where many people stop too early. Even when the straps are buckled, small adjustments matter. Look carefully:
- Does it sit evenly across the chest?
- Is it pulling near the throat?
- Are the straps digging under the legs?
A few minutes of adjustment now will save your dog from irritation later. Every dog is built differently, and a well-fitted dog harness should almost disappear to them once they start walking.
Step 7: Clip the Leash
Simple step, but easy to overlook. Attach the leash to the D-ring, then give it a small tug just to be sure it’s locked. This extra second prevents a lot of panic outside. Even the best harness won’t help if the leash isn’t secure.
Step 8: Test It Indoors
Before rushing out the door, let your dog take a few steps around the house. Watch how they move. Do they walk normally? Do they freeze or paw at the straps? If something seems off, pause and adjust. If they’re wagging and moving freely, then you’re good to go.
Step 9: Mistakes to Watch Out
Even experienced owners sometimes slip up.
Common issues include:
- Putting it on with twisted straps.
- Buckling too tightly under the chest.
- Forgetting to double-check that clips are secure.
They’re small mistakes, but they matter. Avoiding them keeps both you and your dog stress-free on walks.
Step 10: Making Harness Time Routine
After a few days of practice, the whole process will feel natural. You’ll pick up the dog harness, and your dog will already know what’s coming. That’s when walks become easier, not just safer but smoother for both of you.
It’s worth remembering that harness time is more than gear; it’s part of the bond you build. Each time you slip it on, you’re creating a small ritual that leads to adventure outside.
Final Thoughts
Learning how to put on a dog harness properly isn’t complicated once you’ve gone through the steps. Start with calm energy, let your dog get familiar, position it correctly, and adjust the straps with care. That’s it.
The more you practice, the easier it gets. And with the right fit, every walk feels better, your dog stays safe, you feel confident, and the whole outing is just more enjoyable.
