3D printing brings your ideas to life right in front of you. But if you’ve spent time with a 3D printer, you know it’s not all smooth sailing from idea to object. A big challenge is keeping everything tidy.
Without some organization, your projects can get confusing fast, and you might lose parts, waste materials, and feel frustrated. The trick to a hassle-free 3D printing experience is staying organized to get your projects done without the headache.
To help you stay organized, here are six tips for keeping your 3D printing area and projects neat. This way, you can spend more time creating and less time sorting through clutter.
- Set Aside Dedicated Workspaces
Creating separate workspaces for each step of the 3D printing process helps keep things tidy, boosts efficiency, and cuts down on mistakes. Kick things off by picking a spot for design and planning — maybe a quiet area with your computer, design apps, and a place to doodle, letting your creative juices flow freely.
Next, set up your printing station around your 3D printer in a spot with good airflow to manage any fumes from the materials you use. Ensure you have your tools for removing prints, cleaning, and upkeep.
Then, there’s the post-processing area, where you bring your creations to life. This space should have all the tools you need for removing supports, smoothing, painting, or any finishing touches your work needs.
These organized, dedicated spaces make each part of your project transition smoothly to the next, keeping things safe, especially when using sharp tools or working with potentially hazardous materials.
- Plan Your Project
Clearly defining your goals and deadlines from the start can ensure a smooth process and transform your digital designs into physical forms more efficiently. First off, nail down what your project is all about. Figure out how big or complex it will be and what it’s for. Is it a one-off prototype or a batch of practical components?
Then, decide on specific objectives, like how detailed or durable you want the final product to be. This step helps you pick suitable materials and printing technology, whether it’s FDM (Fused Deposition Modeling) for sturdy items or SLA (Stereolithography) for detailed creations.
Establishing deadlines is also essential, especially in a field where print times vary widely based on the model’s complexity and your resolution. With a final deadline in mind, you can break down the project into smaller tasks to keep everything moving forward on schedule.
- Maintain a Digital Library
A well-maintained digital library is the backbone of an efficient 3D printing workflow. It means having all your designs in one location, neatly organized so you can find them quickly and avoid panicked searching.
Begin with setting up a clear folder system. You might sort files by project, whether prototypes or final versions, or by the material they’re for. For each category, be consistent with a naming format that tells you everything you need to know at a glance – like the project’s name, the version of the model, and the date of its last update. For example, a file named “Handle_V2_20240401.stl” instantly shows its identity, version, and update date. Including version numbers helps you track changes and switch to older versions if necessary.
Make a habit of adding the date to file names to identify the latest version easily and see how a project has evolved. Don’t forget to back up your work on the cloud, too. This protects against losing your work and lets you (and your team, if you have one) access files from anywhere, making it easier to work together and keep the project moving smoothly.
Source: MarinaGrigorivna/ Shutterstock.com
- Keep a Physical Organization System
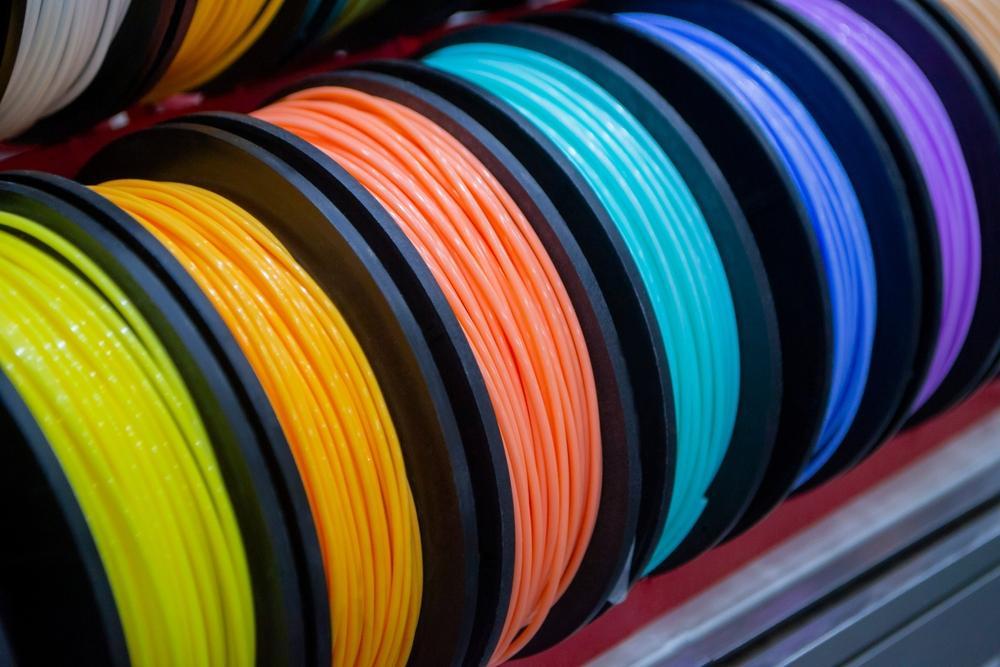
A tidy workspace is productive, especially in 3D printing, where you have numerous physical components like filaments, parts, and tools. To keep these essential items organized and easily accessible, integrate a system of labeled bins and drawers into your workspace.
Start by categorizing your materials and tools. For 3D printer filament types, organize them not just by color but by material — PLA, ABS, PETG — since each has specific printing properties and storage requirements. Use clear, durable labels on each bin or drawer, specifying the filament type and color.
For smaller parts and tools, consider using compartmentalized organizers or toolboxes. These can be labeled by project name, part type, or tool function, making it easy to locate exactly what you need without unnecessary rummaging.
Additionally, integrating a “work-in-progress” area can help distinguish between projects you’re currently working on, finished projects, and materials that are still to be used. This organizational strategy helps maintain an orderly space. It’s not just about keeping projects in — it protects your materials, helping you avoid issues like tangled filaments and misplaced components.
- Log Your Prints
Keeping a detailed log of your 3D printing projects can improve your ability to troubleshoot problems and refine future prints. Whether you prefer a traditional logbook or a digital spreadsheet, record critical details for each print, including the date, model name, filament type, color, print settings (such as temperature, print speed, and layer height), and the print outcome. Make note of any adjustments made and their effects on the final product.
Be thorough when documenting any issues encountered during the printing process, such as warping, stringing, or adhesion problems, alongside the steps taken to resolve them. This information offers you valuable insights, allowing you to identify optimal settings for specific materials or models and avoid past mistakes.
Additionally, if you’re experimenting with new materials or intricate models, your log can help you achieve consistent results. As time goes on, this log becomes a tailor-made manual, quickly offering solutions to frequent challenges and giving you a better grasp of what your 3D printer can do and its unique characteristics.
- Regular Printer and Software Maintenance
Regularly maintaining your 3D printer and its software ensures consistent, high-quality prints and prolongs the life of your equipment.
Start by scheduling regular check-ups for your printer, focusing on critical components such as the print bed, extruder, and moving parts. Ensure the print bed is level and clean. A misaligned or dirty bed can cause adhesion issues. The extruder should be checked for clogs and cleaned to prevent filament jams. Lubricate moving parts periodically to keep motions smooth and to avoid wear.
Make sure you have the latest firmware and software updates. Manufacturers frequently release updates that improve printer performance, introduce new features, and fix bugs. Regularly updating your software ensures you’re using the latest advancements in 3D printing technology.
Incorporate cleaning sessions into your routine. After each project, take a moment to remove leftover filament and debris from the printer. This prepares it for the next job and prevents buildup that could lead to future problems. Keeping maintenance tools and cleaning supplies nearby can help you stick to your habit.
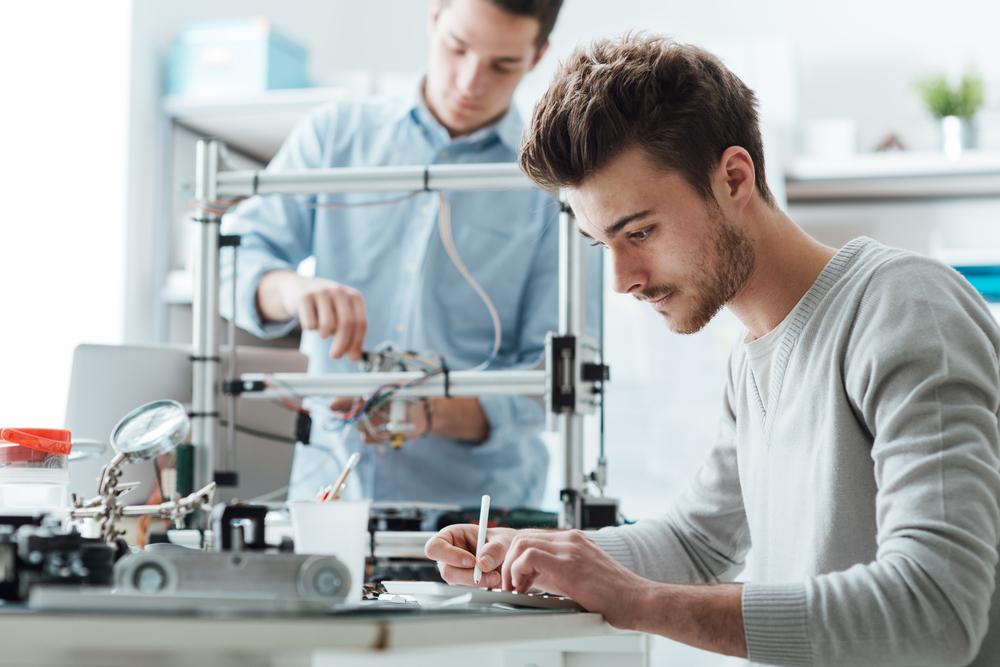
Source: Stock-Asso/ Shutterstock.com
Keep Your Space Organized for a Better Creative Process
Besides choosing the right 3D printer, having a well-organized workspace is key to unlocking your creative potential in 3D printing. Adopting these organizational tactics makes your workflow smoother, lowers stress, and allows for more creativity and experimentation. A tidy space helps keep your focus sharp on transforming your creative ideas into reality, making the whole creative journey more fulfilling and efficient.